
How to Install Zellige Tiles
To ensure proper installation of Tiles from House of Anouar, a skilled installer with experience in Moroccan Zellige tile is recommended. House of Anouar is not responsible for installation, ongoing care, or post-installation issues. If your installer deviates from the recommendations below, it could lead to costly outcomes.
Key Considerations for Zellige Installation:
Perfect Imperfections: Expect 15-20% of Zellige tiles to have imperfections like hairline cracks, edge chips, or crazing. These tiles, when blended into the installation, create the authentic look of Moroccan Zellige.
Order Size: If you prefer a more uniform look, order 20-25% extra to allow your installer to set aside more imperfect tiles. This may help in achieving a cleaner aesthetic, though removing too many tiles can diminish the authentic Zellige style. For larger projects, include a 15% overage to account for breakage, cuts, and variation.
Tile Variation: Zellige tiles are handmade, and variations in color, size, and finish are natural. If you order additional tiles at a later time, these may not exactly match your initial batch due to variations in production.
If you do not plan to work with these inherent characteristics, consider choosing a more uniform tile.
Inspect Your Order:
Expect variations in shape, thickness, and color. Chips and cracks are part of the authentic Moroccan tile aesthetic.
You may notice ink marks from the cutting process; these can be cleaned with a damp cloth.
Preparation:
IMPORTANT: Soak glazed Zellige in room temperature water for 30 minutes before installing to remove dust and ensure proper adhesion. Do not soak unglazed Zellige.
Blend tiles from multiple boxes to evenly distribute variation across the installation. This is critical to achieving the traditional look.
Pre-plan your layout to optimize color variation and tile placement.
Zellige Installation Instructions:
For Glazed Zellige: Soak the tiles for 30 minutes in room temperature water before installation.
Thinset Application: Use a high-quality thinset mortar and apply evenly to both the surface and back of each tile.
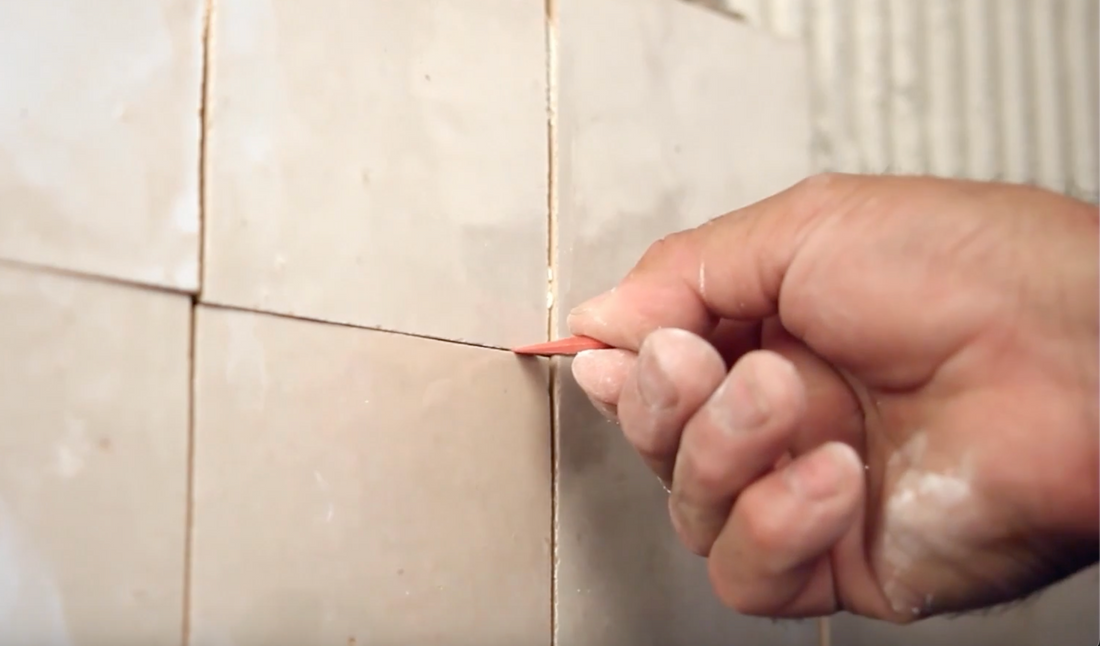
Tile Placement: Lay tiles one by one, pressing them into place. Level tiles as you go, using wedge spacers for consistent alignment.
Grout: For a traditional look, lay tiles edge-to-edge without grout lines. If using grout, a 1/16” gap is recommended for wall installations, while 1/8” spacing is suggested for floors.
Cutting: Use a water-cooled tile saw with a diamond-edge blade for clean cuts.
Wet Areas:
For areas like showers and pools, ensure tiles are fully sealed with a penetrating sealer (511 Porous Plus) after grouting.
Grouting:
Use Mapei Ultracolor Plus FA for glazed Zellige.
For unglazed Zellige, apply 511 Porous Plus sealer prior to grouting. After grouting, apply FILA Matte Wax Sealer.
Maintenance:
Regularly clean tiles with a neutral pH cleaner. Avoid harsh chemicals that could damage the surface.
Re-seal Zellige in high-moisture areas every 1-2 years.
Optional Grout Sealing:
For added protection, follow grout manufacturer's instructions for sealing.
For any questions or assistance, contact us directly.